Who doesn’t love walking out of the salon with a perfect, shiny, and smooth blowout? But trying to recreate that magic at home often leads to frizz or flat, lifeless hair. Frustrating, right? Don’t worry – we’ve got your back! To learn how to do a blowout at home, follow these steps. Plus, we’ll tell you how to keep your blowout looking fabulous for days using SleepyTie.
1. Protect & Nourish
First things first – start with damp hair. You’ll want to apply a leave-in conditioner from mid-length to ends. This helps protect and repair any damage. Avoid the roots, since excess moisture at the roots can leave hair looking greasy or limp.
Next, detangle your hair with a wide-tooth comb. Start at the ends and gently work your way up to the roots. Be gentle – wet hair is more prone to snapping, and snapped hairs create frizz (definitely not what you want).
2. Section
Comb your hair back and clip it into five sections:
- Top Section: From the corners of your forehead to the crown.
- Middle Sections: From ear level to the back of your head. Divide this section into two.
- Bottom Section: Divide the remaining hair into two sections.
3. Apply Product
Prep your hair with a blow-dry spray and heat protection. For a bouncy, voluminous blowout (or if your hair doesn’t hold curl easily), use mousse. If your hair is shorter, opt for a lightweight hold product. For longer hair, go for a stronger product since long hair is heavier.
Instead of applying product all over your wet hair, apply it as you go. Most styling products set quickly, so it works best to apply them right before you style each section.
4. Drying
You have two options here: a traditional hair dryer and a round brush or a blow dryer/brush combination tool. Here’s how to master both:
How to Do a Blowout with a Round Brush
- Use a nozzle on your hair dryer and a large, ventilated round brush.
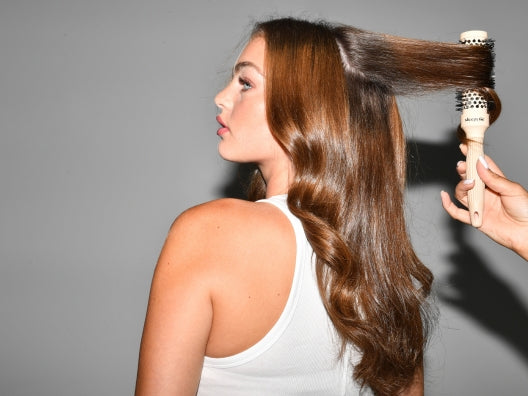
- Unpin one of the bottom sections. Hold the dryer at the root and blow straight down the shaft to flatten the cuticle. Meanwhile, use the round brush to pull your hair taut as you blow dry. Start at the root and roll the brush at the end to add curl.
- Once the section is dry, roll the hair all the way around the brush and blow-dry for 5-10 seconds. Twist the brush as you release the hair.
- If your roots are flat, place a small ventilated round brush under the root section and blast with hot air (pointing down) for lift.
- Continue with all sections of the hair, working your way from the bottom to the top.
How to Do a Blowout with a Blow Dryer/Brush Combination Tool
- Choose a tool with adjustable temperature settings. Use the lowest setting possible to prevent damage.
- Unpin one of the bottom sections of the hair. Take a 1-2” section of hair and wrap around the hair dryer, starting close to the root. Brush through to the ends, then twist the dryer to wrap the hair around it.
- Pull the hair out at a 45-degree angle and keep it taught to straighten and add volume.
- Repeat until the section is fully dry. Continue the process on all sections of the hair, ending at the top.
Tips:
- Don’t rush: Depending on your hair’s thickness, a blowout can take up to 45 minutes.
- Take small sections: This ensures that each strand is dried properly.
- If your hair gets stuck: Use a rat tail comb to release it by sliding the “rat tail” end between the hair and the brush. Then lift, and you’re free!
- Start with damp hair: Allow your hair to air dry or rough blow dry until it’s 80% - 90% dry. Trust us: this will save your arms.
5. Finishing Moves
Your next steps depend on your desired outcome:
Straight and Sleek: How to Do a Blowout with a Straightener
- Use a flat iron to smooth any flyaways.
- Apply a dime-size amount of argan oil to the ends for extra shine.
Bouncy Volume: How to Do a Blowout with Rollers
- Use medium to extra-large velcro rollers for volume. For longer hair, use larger rollers.
- Once you’ve finished drying each section of hair, wrap into a roller, rolling under and angling upwards for more lift at the roots.
- Face-framing sections on the sides: When the roller is about one roll from the roots, twist the roller away from the face and finish rolling the hair under.
- For top sections: Roll the hair away from your face, except for the section right above your forehead—roll that one towards your face. When wrapping hair, angle it upwards to get more lift at the root. Let the hair cool completely before removing rollers.
- To remove the rollers, unclip and insert two fingers into the roller. Then, twist and pull repeatedly to release the hair.
- Err on the side of big hair. It may look too voluminous at first but will settle within an hour or so.
- Tousle hair at the roots with your fingertips – avoid brushing it.
How to Preserve Your Blowout
A home blowout takes effort, so let’s make it last:
- Moisturize the ends: Use a lightweight hair oil to prevent frizz.
- Light-hold hairspray: If your hair doesn’t hold well, use this after finishing your blowout.
- Dry shampoo: Apply to your roots before bed to absorb excess oil overnight.
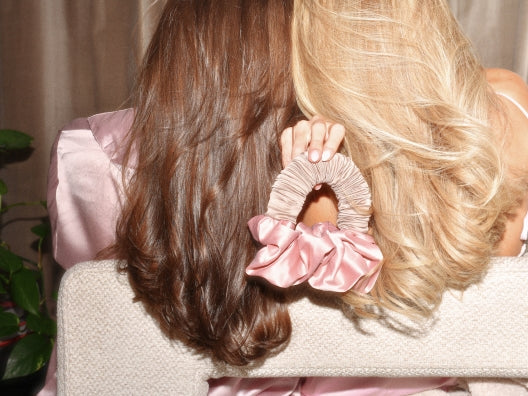
- Use SleepyTie: This is key to preserving your blowout while you sleep.
How to Use Sleepy Tie:
- Brush hair into a ponytail position.
- Put your SleepyTie around one wrist.
- Pull the ponytail to the top of your head. You want it to be as close to the top of your head as possible.
- Wrap the arch of the SleepyTie around the ponytail. Then, wrap your ponytail around the arch until all the hair is wrapped.
- Twist the scrunchie into a figure-eight position and make a bun on top of your head.
- Loop the other side of the arch behind the bun to keep it secure.
- In the morning, remove SleepyTie from your hair. And that’s it! Your hair is beautiful and ready for a new day.
And there you have it – a salon-quality blowout at home that lasts for days. Happy styling!


